
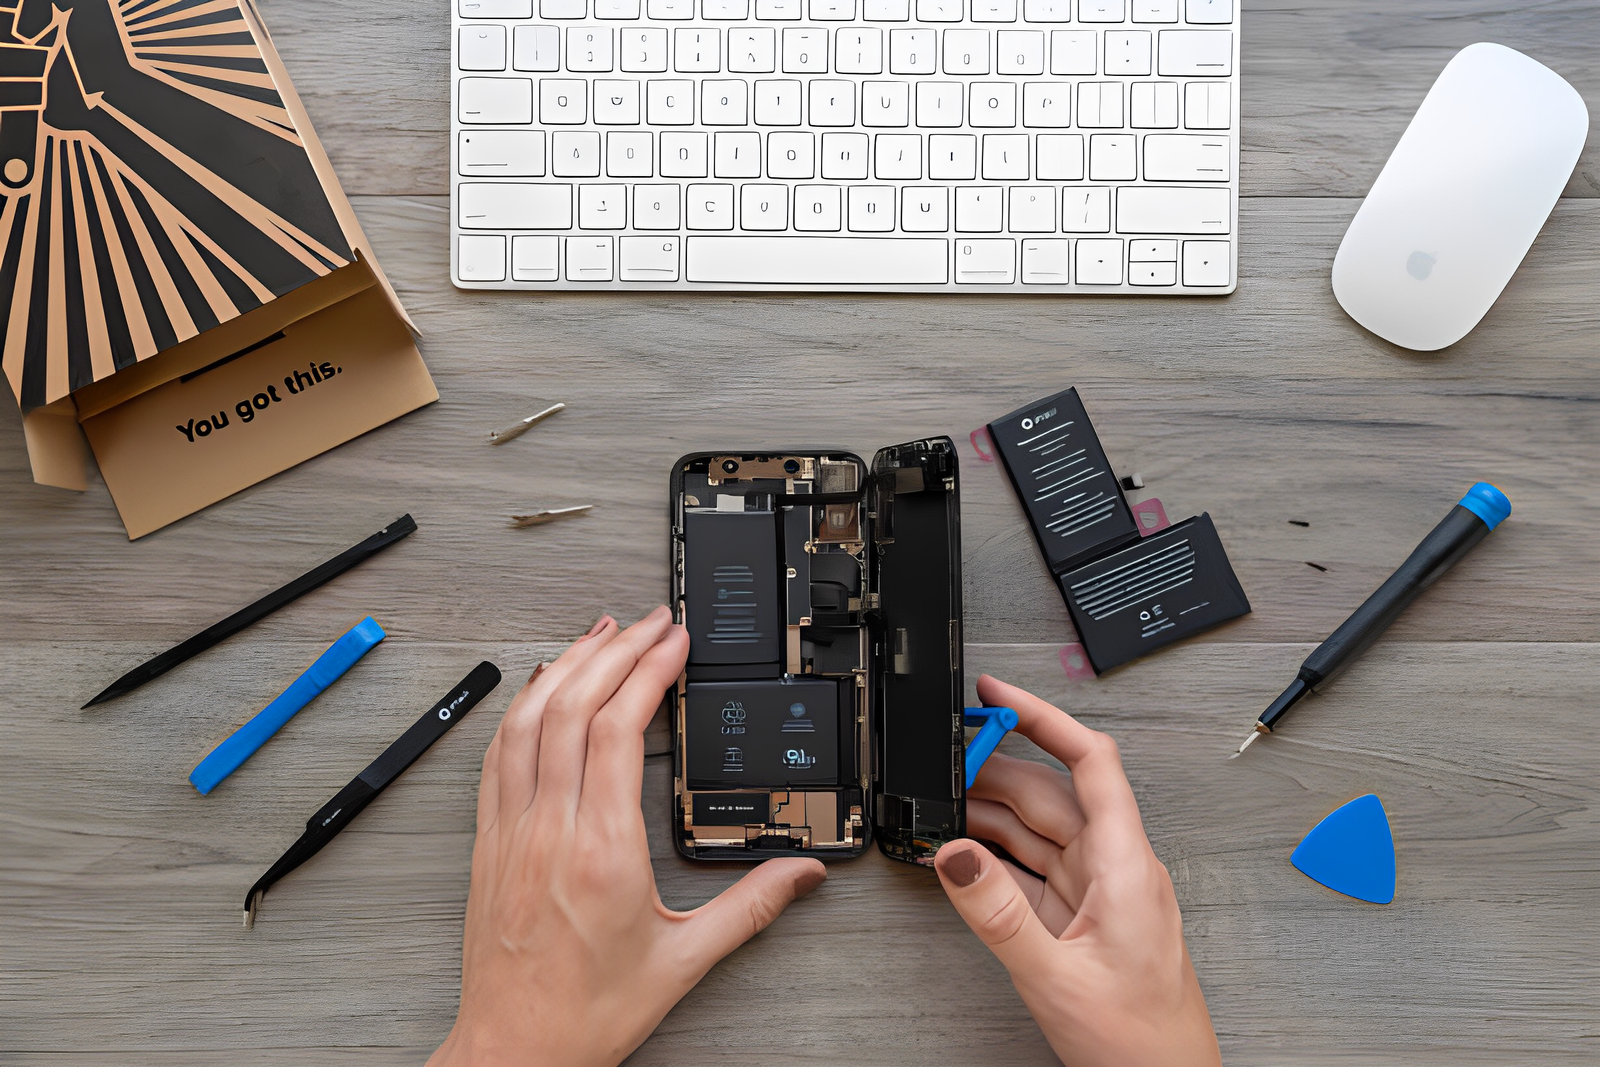
Hey there, tech lovers! Let’s face it, our smartphones are practically glued to our hands these days, right? They’re like our trusty sidekicks – always there when we need them. But, oh boy, when they go kaput, it’s like losing a limb! But don’t you worry, I’ve got your back. This guide, inspired by the ever-so-helpful Carissa Bowden’s YouTube wisdom, is your golden ticket to becoming a phone repair ninja.
Getting Ready: The Nitty-Gritty
Before we dive in, let’s talk prep work. Trust me, a little homework now can save you from a major “oops” later. Carissa’s video is a fab starting point, but hey, there’s a world of info out there. Knowledge is your superpower, especially when you’re going DIY.
Essential Gizmos and Gadgets
Here’s your starter kit:
-
A tiny Phillips screwdriver (aim for 1.5mm)
-
Something to keep those sneaky screws in check – magnet, tape, or tray
-
A pick or a slim jimmy tool for prying
Disassembly: The Fun Begins
Carissa’s pick for the tutorial is an LG phone – a real peach for beginners. Kick things off by waving goodbye to the back cover. You’ll find about a dozen screws hanging out there. Unscrew them with care. Next, gently, and I mean gently, pry apart the top layer from the phone’s guts.
The Grand Tour Inside
Once you’re in, it’s like a tech treasure chest:
-
The battery and its buddy, the connector
-
The camera and its wiry web
-
The speaker and its links
-
Where the screen shakes hands with the phone
Detective Work: Spot the Culprits
Keep an eagle eye out for:
-
Unhappy connections
-
Wires that look like they’ve seen better days
-
Anything that just seems… off
Nudge these troublemakers gently back into place. If things still aren’t peachy post-reassembly, you might need a replacement part.
Reassembly: Piece It Back Together
Putting Humpty Dumpty back together is just retracing your steps. Start with the screen. Make sure everything’s lined up like a perfect puzzle. Press the parts together gently – no Hulk smashes, please.
The Moment of Truth: Testing Time
Once it’s all back in one piece, it’s crunch time. Fire up your phone and cross your fingers. Check if everything’s shipshape. This is make-or-break time – did your phone come back to life?
DIY Empowerment: You’ve Got the Power!
This guide isn’t just a bunch of steps; it’s your ticket to being the hero of your own tech story. With a sprinkle of patience and the right toolkit, you’ll be amazed at what you can fix.
Pro Tips for Being a Phone Fixing Pro
Stay Sharp
Keep tabs on those screws and bits. A slip-up here can turn into a headache later. Be smart – use containers or tape to keep everything organized.
Handle with Care
Phones are like glass slippers – delicate and precious. Be gentle when prying and putting things back together. Forcing things? Big no-no.
Level Up
Feeling comfy with the basics? Time to up your game. The internet’s bursting with resources to boost your repair skills.
Safety First
Always, and I mean always, work in a well-lit, static-free zone. Power off and yank the battery out before you start.
Conclusion: You’re Ready to Rock!
And there you have it! With this guide, you’re well on your way to becoming a phone repair guru. Next time your phone throws a tantrum, remember – you’ve got the magic touch. Or you’re always welcome at Cell Care Phone Repair if there’s any complex repair you need. You know, we’re the best in town!😉